
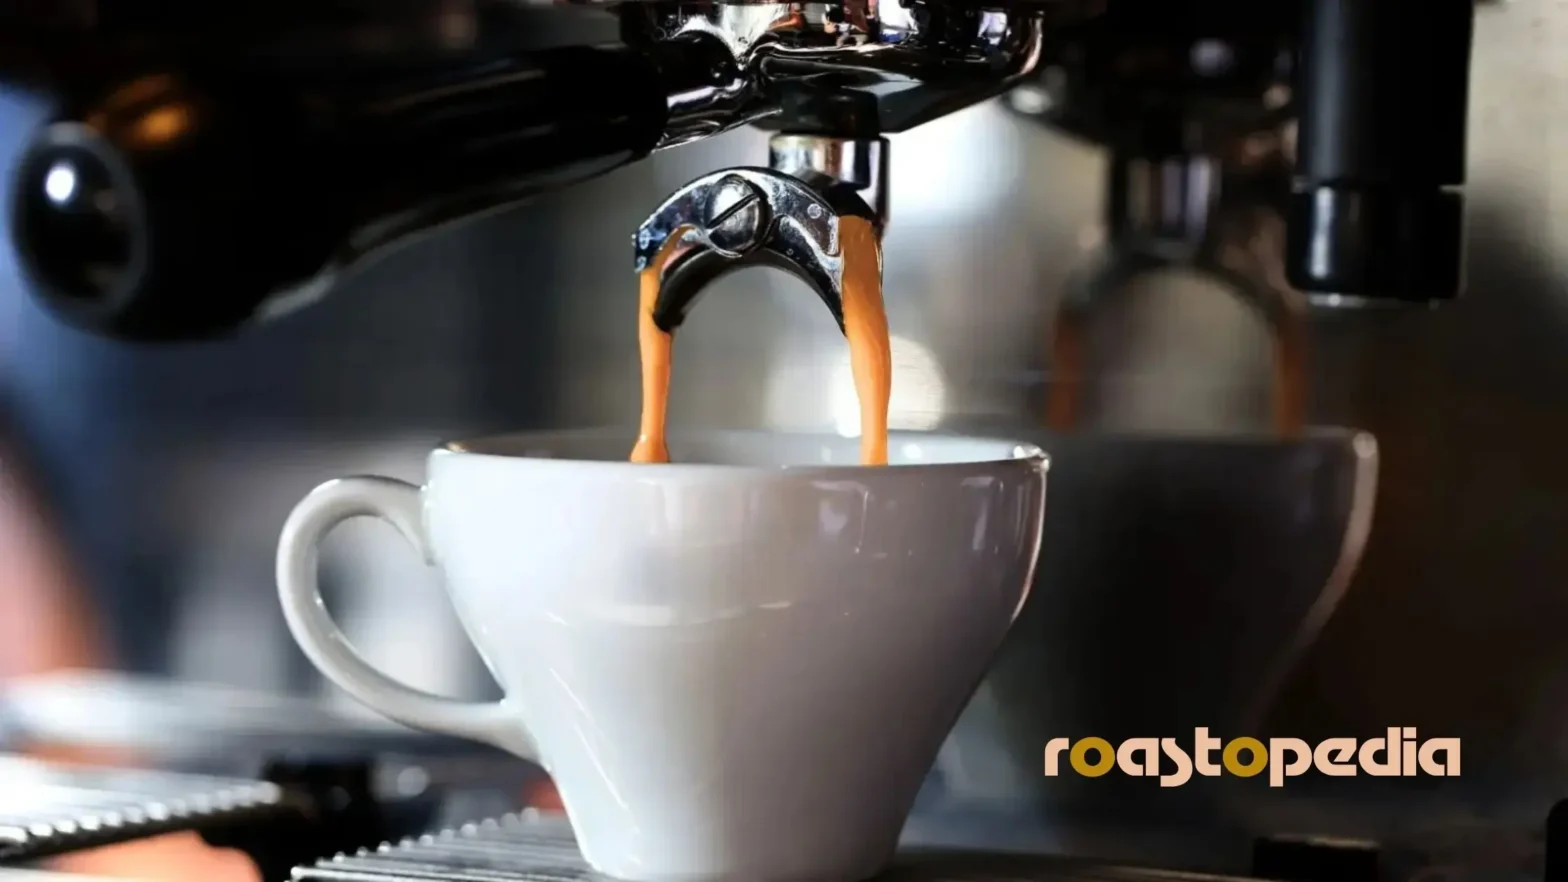
There is a reason baristas spend months — sometimes years — learning to pull a truly great espresso shot. Unlike most brewing methods, espresso is unforgiving. Every variable matters: the grind, the dose, the tamp pressure, the water temperature, and crucially, the time. Get one of them wrong, and the shot tells you immediately, either in the cup or in the pour.
But here is the good news: once you understand what you are looking for and why, pulling a great espresso becomes a deeply satisfying and repeatable skill. This guide will walk you through every step, from preparing your portafilter to recognizing a perfect extraction — and it will give you the timing knowledge you need to dial in your shots with confidence.
What is Espresso, Exactly?
Espresso is a concentrated form of coffee brewed by forcing hot water — typically between 90°C and 96°C (194°F to 205°F), the optimal water temperature for brewing coffee – through a compacted puck of finely ground coffee at high pressure, usually around 9 bars. The result is a small, intensely flavored beverage of roughly 25 to 40 milliliters, topped with a layer of reddish-brown crema.
What makes espresso unique is not just its strength, but its texture. The pressure extraction emulsifies coffee oils into the liquid, creating a syrupy, full-bodied mouthfeel that no other brewing method replicates. That crema you see on top? It is a complex foam of CO2 bubbles and emulsified oils — a sign of a fresh, well-extracted shot.
What You Will Need
Before you pull your first shot, make sure you have the following:
- An espresso machine capable of 9 bars of pressure
- A burr grinder — blade grinders will not produce a consistent enough grind for espresso
- Freshly roasted coffee, ideally rested 7 to 21 days post-roast
- A calibrated tamper that fits your portafilter basket
- A digital scale accurate to 0.1 grams
- A timer or a machine with a built-in shot clock
- A clean, dry portafilter and basket
Pro Tip: Always purge your group head with a short burst of water before locking in the portafilter. This clears stale water from the line and stabilizes the brew temperature.
Step-by-Step: How to Pull an Espresso Shot
Step 1 — Warm Up Your Equipment
Run a blank shot (water only through a locked-in portafilter) or allow your machine at least 20 to 30 minutes to reach full thermal stability. A cold group head will steal heat from your brewing water and lead to under-extraction. Similarly, pre-warm your cup by rinsing it with hot water.
Step 2 — Dose Your Coffee
For a standard double espresso (the industry baseline), you will typically use between 17 and 20 grams of ground coffee, depending on your basket size and coffee. Weigh your dose on a digital scale every time. Eyeballing dose creates inconsistency that makes it nearly impossible to diagnose extraction problems.
Standard Doses: Single basket: 7–10g | Double basket: 17–20g | Triple basket: 21–24g
Step 3 — Grind Fresh
Grind your dose directly into the portafilter or a dosing cup immediately before brewing. Espresso requires a very fine grind — finer than table salt, coarser than powdered sugar. The exact setting will depend on your grinder, your coffee, and your target shot time, which we will cover in detail shortly.
Never pre-grind your espresso. Ground coffee loses its volatile aromatics and CO2 within minutes, and stale grounds will produce a flat, lifeless shot regardless of how well everything else is dialed in.
Step 4 — Distribute Your Grounds
Before tamping, distribute the coffee evenly across the basket. Uneven distribution creates channels — pathways where water takes the path of least resistance through the puck — which results in uneven extraction and off-flavors.
Use a distribution tool, a WDT (Weiss Distribution Technique) needle tool, or simply tap the side of the portafilter lightly and use your finger to level the surface. The goal is a flat, even bed of coffee with no gaps or high spots.
Step 5 — Tamp Correctly
Place your portafilter on a flat, stable surface (use a tamper mat to protect your countertop and portafilter spout). Hold your tamper like a doorknob — elbow at 90 degrees, wrist straight — and apply firm, even downward pressure. The industry standard is approximately 15 to 20 kilograms of tamping pressure, though consistency matters more than hitting an exact number.
The tamp should be level. A crooked tamp creates a slanted puck, which channels water to one side and produces an uneven extraction. After tamping, do not twist or polish — simply press, lift cleanly, and inspect the surface. It should be smooth, flat, and level.
Common Mistake: Tamping too hard is rarely the problem. Tamping unevenly almost always is. Focus on levelness above all else.
Step 6 — Lock In and Start Your Shot
Lock the portafilter into the group head with a firm twist. Start your timer and begin the shot simultaneously. Do not let the portafilter sit in a hot group head before pulling — the heat will begin cooking the coffee grounds, leading to bitterness.
Step 7 — Observe the Pour
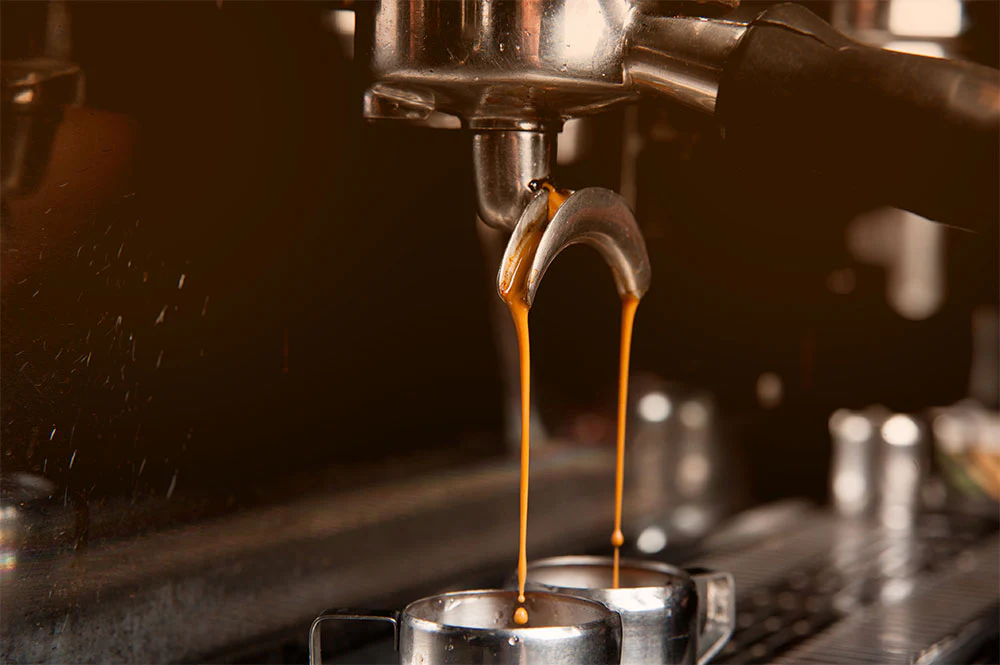
A well-pulled espresso shot will begin flowing from the spout after roughly 5 to 10 seconds of pre-infusion or ramp-up, then flow in a smooth, consistent stream that some describe as resembling a thin rope or a rat’s tail. The color will progress from dark brown to honey-amber over the course of the shot.
If the shot pours immediately and very fast, your grind is too coarse. If nothing comes out or the machine struggles, your grind is too fine or your dose is too high.
How Long Should You Pull an Espresso Shot?
The question of how long to pull espresso shot bothers every aspiring barista, and it is also the one with the most nuanced answer. Shot time is not the goal in itself — it is a diagnostic tool. What you are actually aiming for is a specific brew ratio and a specific flavor outcome. Time helps you get there.
The Industry Standard: 25 to 30 Seconds
The most widely cited benchmark for espresso extraction time is 25 to 30 seconds, measured from the moment the pump starts (or from the first drip, depending on the machine). This range is the result of decades of barista tradition and has been validated by flavor science — it represents the window in which the most desirable soluble compounds are extracted from the coffee, without over-extracting the bitter, astringent ones.
The Rule of Thumb: If your shot pulls in under 20 seconds, grind finer. If it takes more than 35 seconds, grind coarser.
Understanding Brew Ratio
Modern specialty coffee has moved beyond time as the sole measure of a good shot. Today, most skilled baristas use brew ratio — the relationship between the dry coffee dose going in and the liquid espresso coming out — as their primary reference point.
The most common ratios are:
- 1:2 ratio (e.g., 18g in / 36g out) — the classic specialty espresso standard, full-bodied and balanced
- 1:1.5 ratio (e.g., 18g in / 27g out) — a ristretto style, shorter, sweeter, and more concentrated
- 1:3 ratio (e.g., 18g in / 54g out) — a lungo style, longer, lighter, and more tea-like in body
At a standard 1:2 ratio with an 18-gram dose, you are aiming for 36 grams of liquid espresso in approximately 25 to 30 seconds. This combination of dose, extraction yield, and contact time is what specialty baristas call dialing in.
How Roast Level Affects Shot Time
Roast level significantly influences how quickly espresso extracts. Darker roasts are more soluble — their cellular structure has been broken down more thoroughly during roasting, so water moves through the puck faster and extracts compounds more quickly. You may find that dark roasts hit their ideal flavor at 20 to 25 seconds, while lighter roasts — which are denser and less soluble — may benefit from slightly longer extractions of 28 to 35 seconds.
Do not be alarmed if your light roast requires a finer grind and a longer time than you expect. This is normal, and the flavor complexity you unlock at the right extraction time will make the dialing-in process worth it.
Pre-Infusion and Its Effect on Timing
Many modern espresso machines offer pre-infusion — a low-pressure saturation of the puck before full extraction pressure is applied. Pre-infusion typically lasts 3 to 8 seconds and helps the coffee bloom and distribute evenly before the high-pressure extraction begins.
If your machine has pre-infusion, factor it into your total time, but do not count it as part of your extraction time. A 5-second pre-infusion followed by a 27-second extraction gives you a total of 32 seconds on the clock, but the actual extraction window is still within the target range.
A Quick Timing Reference Guide
- Under 20 seconds: Grind is too coarse, or dose is too low — likely under-extracted (sour, weak, hollow)
- 20 to 25 seconds: On the faster end — acceptable for dark roasts, may be under-extracted for lighter coffees
- 25 to 30 seconds: The classic specialty target — balanced, full extraction for most coffees
- 30 to 35 seconds: Slightly longer — often ideal for very light, dense, high-altitude beans
- Over 35 seconds: Grind is too fine, or dose is too high — likely over-extracted (bitter, dry, astringent)
Reading Your Shot: What the Espresso is Telling You
Every shot gives you feedback. Learning to read that feedback is what separates a good barista from a great one.
The Shot Tastes Sour or Weak: This is under-extraction. Your grind is likely too coarse, your dose too low, your water temperature too cold, or your shot time too short. Try grinding finer first, as this is almost always the primary variable.
The Shot Tastes Bitter or Dry: This is over-extraction. The water has spent too long in contact with the grounds and has pulled out the undesirable bitter compounds. Grind coarser, reduce your dose slightly, or lower your water temperature by 1 to 2 degrees.
The Shot Tastes Simultaneously Sour and Bitter: This is the hallmark of channeling — water found a gap in the puck and rushed through unevenly, under-extracting in some areas and over-extracting in others. Improve your distribution technique before adjusting the grind.
The Crema is Very Pale or Absent: Your coffee may be too old, past its peak degassing window, or your grind may be too coarse. Alternatively, your machine may not be reaching adequate pressure. Check your roast date — espresso pulled from beans more than 6 to 8 weeks post-roast will produce increasingly thin crema.
The Crema Is Very Dark and Bitter: Over-extraction or too-dark a roast. Try a slightly coarser grind or consider switching to a lighter roast profile.
The Secret Ingredient: Consistency
The single most important thing you can do to improve your espresso is to change only one variable at a time. Adjust your grind size. Pull the shot. Taste it. Then adjust again if needed. Changing dose, grind, and temperature simultaneously makes it impossible to understand what is actually affecting your cup.
Keep a shot log — even a simple notepad beside your machine. Record your dose, yield, time, and a brief tasting note. Over time, this log becomes an invaluable reference, especially when you switch to a new coffee or a new bag from the same origin.
Remember: Dialing in is not a one-time exercise. Every new bag of coffee — even the same coffee from the same roaster — may need a slight adjustment. Freshness, seasonal crop variation, and humidity all play a role.
Final Thoughts
Pulling a great espresso shot is part science, part intuition, and entirely worth the effort. When every element aligns — the freshly rested beans, the precisely dosed and distributed puck, the level tamp, the calibrated grind, and the 25 to 30 second extraction into a warm cup — the result is something genuinely extraordinary: a small, dense, aromatic beverage that contains more complexity per milliliter than almost anything else you can drink.
Be patient with the process. Embrace the feedback each shot gives you. And remember that even the world’s most accomplished baristas still pull bad shots from time to time. The difference is that they know exactly why — and they know exactly what to change.